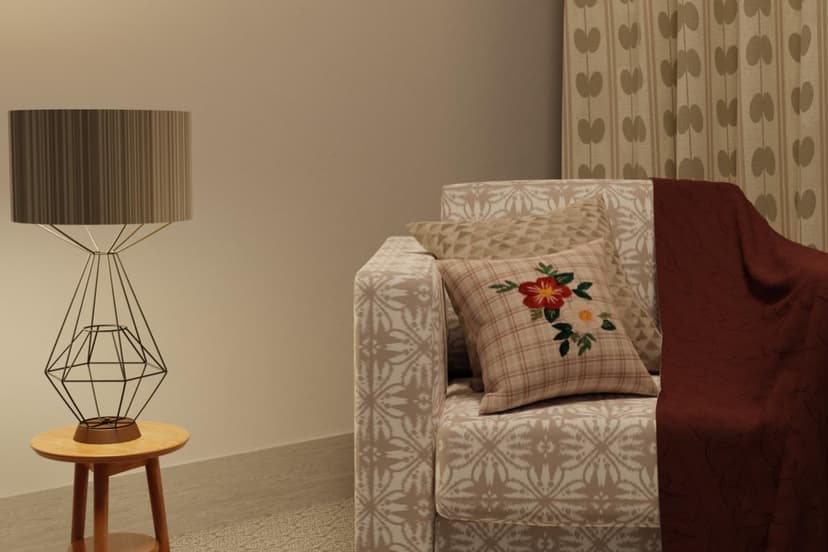
Part 4: Texture Development
In this part, we will learn about developing textures and fabric for the blender and CLO3D file. Will also be learning different methods of producing repeatable textures, displacement maps, normal maps, opacity maps, and various techniques to produce patterns and textures that we can apply to our garment. We will also be learning different methods to develop embroidery, lace, and knitwear fabric.
1. Photopea: A web-based free and open-source photo editor, similar to Photoshop. Visit Photopea
2. 3D Sampler: We'll use this for developing and processing print fabrics, scanning fabrics, and creating new weaves and materials.
3. Texture Generator: An online tool for creating texture maps. Visit Texture Generator
Tutorials
Continue Your Journey
You've completed this part. Click on any module below to jump right into your next lesson.

Course by
Vivek Pujari
"Dedicated to my friends and all the amazing people from the fashion industry out there!"